Showing posts with label Sally Girl. Show all posts

Sunday, October 25, 2009

Line Your Peepers!

I absolutely love the look of liquid eyeliner. Unfortunately, it takes a steadier hand than I posses in the wee hours of the morning as I get ready for work. I tend to like a more defined line than a pencil can usually give, plus, I find wooden pencil-type eyeliners to be too hard and the retractable type to not be sharp enough.

I used to be a devote to gel eyeliner, which, to me is the best of all worlds: you get a bold line and it is more forgiving than liquid liner. The price did offend my sensibilities though – you can spend up to $22.00 on Smashbox’s version.

I started using a wet eyeliner brush in dark eye shadow, which looks nice. Unfortunately, the staying power isn’t so hot, especially on my oily lids. So I tried my hand at making my own gel eyeliner, and the result is long lasting, easy to make, and extremely customizable.

How to do it:

For an everyday black eyeliner, I like to use Maybelline Shadow Stylist in Sultry Black, which is a loose powder that isn't terribly pigmented. More pigmented shadows create darker eyeliner. Here, I'm using a tiny acrylic jar, but you can use anything waterproof, like the back of your hand or a water bottle cap. These little jars are easy to find in craft stores and have a lid for future use.

Next, I mix in a small glob of a gel adhesive used for glitter. My favorite is Sally Girl Sparkle Effects Gel Adhesive, which is under a dollar at Sally Beauty Supply. Find it near the Sally Girl glitter and eyeshadow. Use a little gel to begin with and mix thoroughly. This takes trial and error. I like to mix with a designated paint brush with stiff bristles.

What I love about this is that it is customizable. I decided to add some Sally Girl Sparkle Effects silver cosmetics glitter, but obviously you don't need to do this. It adds a nice bling though and the glitter won't fall into your eyes.
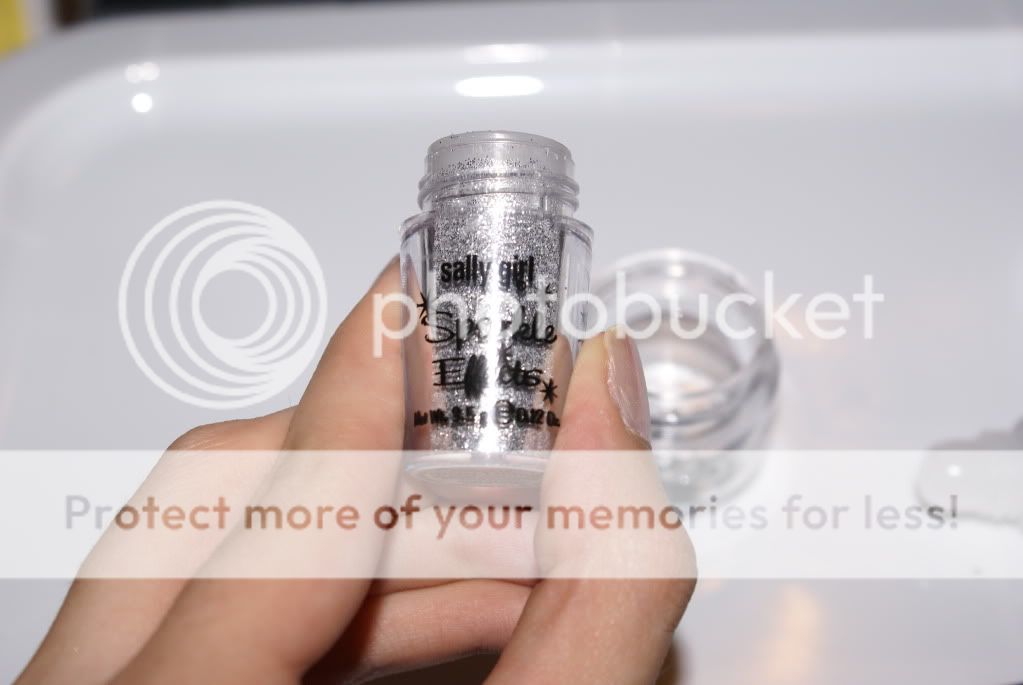
Mix thoroughly. Try this out on your hand or arm until it gets to the right opacity and is glittery enough for you.

Sorry about the weird lighting, it was tough to photograph the glitter. The bottom two lines are pre-glitter and the top two are with glitter. The line all the way on the bottom was the tester that I did as I was mixing. I tried to rub it off with my finger after it dried, and it wouldn't budge. This really has staying power!

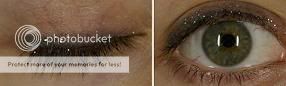
And here it is on my eye, smudged into a bit of a smokey look. Excuse the lack of other makeup, this was late at night!
Wednesday, October 14, 2009

Matte Nails

Good evening! I’ve decided to make my first beauty post about something that I am totally excited about right now: matte nails. I wasn’t initially going to jump on the bandwagon, but since the matte nail trend doesn’t seem to be going anywhere, I caved (and I’m so glad I did!).


I made the decision a while ago to hold out for the China Glaze Matte Magic topcoat. I love China Glaze, and I knew it would be a few dollars cheaper than the Essie version (the next cheapest one that is widely available). I bought this at Sally Beauty Supply for 5 dollars with Sally card. The Essie version is 10 dollars at Ulta and I hear that it too is fabulous. While I’m comparing them I should mention that although the China Glaze matte topcoat is cheaper, it’s also a smaller bottle at .325 oz compared to Essie’s .5 oz bottle.


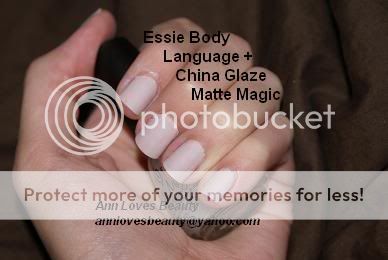
This was the manicure I was sporting before applying Matte Magic - Seche Ridge Filling Base Coat, three coats of Essie Body Language, and topcoat of Poshe:

Indoors with flash

Fabulously, the Matte Magic topcoat applied perfectly right over my existing manicure! Check it out:

Indoors with flash

Natural light

And just for fun, I did swatches of a few other crème polishes with the Matte Magic topcoat:

Natural light

I am loving this look! I can’t wait to try it with other colors. I kept my Matte Magic + Essie Body Language manicure on for three days with some tip wear and minimal chipping (maybe two or three small chips total). The matte-ness does sort of fade to a satin finish after the first day. This also looks pretty cool, but I opted to add another coat of Matte Magic, which worked like a charm.


I really like Essie Body Language, it’s a very neutral, clean looking white-beige, very work appropriate. Adding the matte topcoat just makes it a little more edgy in my opinion. It looks more mod. Very cute, and a very easy way to try this trend out!


Although several companies make matte polishes (OPI, Zoya, Orly), I probably won’t be buying any of them after trying this. For the price of one matte nail polish I can recreate my entire nail polish collection as mattes...that is a product I can get behind!