Showing posts with label homemade. Show all posts

Sunday, October 25, 2009

Line Your Peepers!

I absolutely love the look of liquid eyeliner. Unfortunately, it takes a steadier hand than I posses in the wee hours of the morning as I get ready for work. I tend to like a more defined line than a pencil can usually give, plus, I find wooden pencil-type eyeliners to be too hard and the retractable type to not be sharp enough.

I used to be a devote to gel eyeliner, which, to me is the best of all worlds: you get a bold line and it is more forgiving than liquid liner. The price did offend my sensibilities though – you can spend up to $22.00 on Smashbox’s version.

I started using a wet eyeliner brush in dark eye shadow, which looks nice. Unfortunately, the staying power isn’t so hot, especially on my oily lids. So I tried my hand at making my own gel eyeliner, and the result is long lasting, easy to make, and extremely customizable.

How to do it:

For an everyday black eyeliner, I like to use Maybelline Shadow Stylist in Sultry Black, which is a loose powder that isn't terribly pigmented. More pigmented shadows create darker eyeliner. Here, I'm using a tiny acrylic jar, but you can use anything waterproof, like the back of your hand or a water bottle cap. These little jars are easy to find in craft stores and have a lid for future use.

Next, I mix in a small glob of a gel adhesive used for glitter. My favorite is Sally Girl Sparkle Effects Gel Adhesive, which is under a dollar at Sally Beauty Supply. Find it near the Sally Girl glitter and eyeshadow. Use a little gel to begin with and mix thoroughly. This takes trial and error. I like to mix with a designated paint brush with stiff bristles.

What I love about this is that it is customizable. I decided to add some Sally Girl Sparkle Effects silver cosmetics glitter, but obviously you don't need to do this. It adds a nice bling though and the glitter won't fall into your eyes.
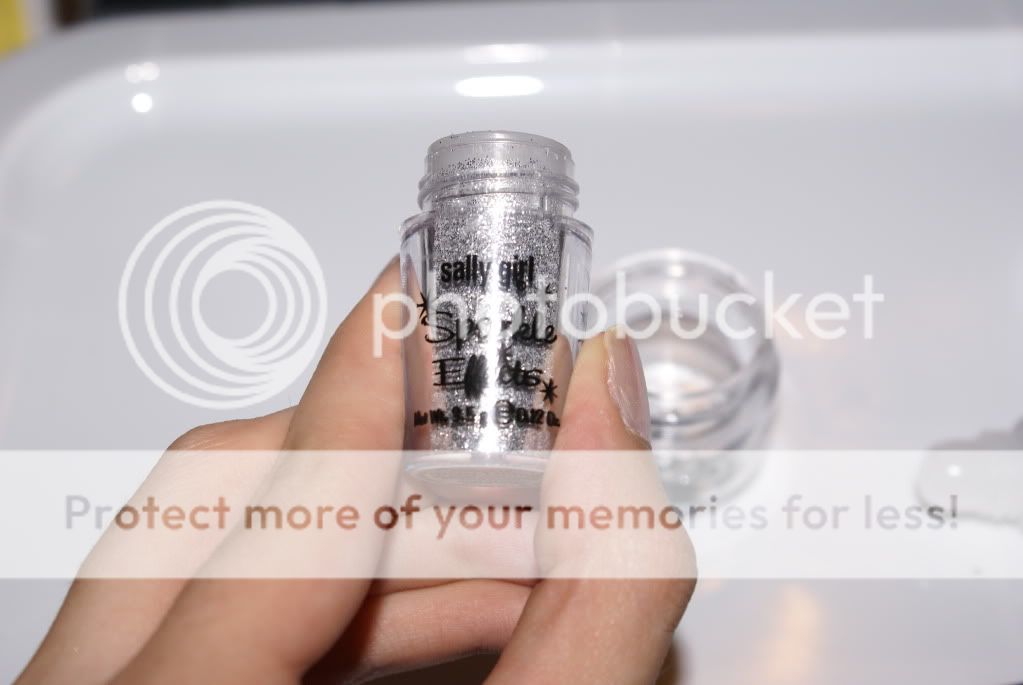
Mix thoroughly. Try this out on your hand or arm until it gets to the right opacity and is glittery enough for you.

Sorry about the weird lighting, it was tough to photograph the glitter. The bottom two lines are pre-glitter and the top two are with glitter. The line all the way on the bottom was the tester that I did as I was mixing. I tried to rub it off with my finger after it dried, and it wouldn't budge. This really has staying power!

And here it is on my eye, smudged into a bit of a smokey look. Excuse the lack of other makeup, this was late at night!

Friday, October 23, 2009

Winter Beauty Season, Problems Solved

I’ve experienced crazy weather before. I’ve lived my entire life in the Northeast – I’m used rapidly changing seasons. What I am not used to is experiencing at least three of the four seasons in the month of October alone. The past two weeks have been especially weird. Last Thursday was the first snow-storm of the season (almost four inches accumulated at my house). Less than a week later, the thermometer was pushing 75 degrees (the mailman wore shorts and a t-shirt). And of course, when it’s not extremely warm or extremely cold, it’s raining.

Not surprisingly, a walk through campus (I work at a college) exposed me to at least half of the student population wheezing, coughing, and sneezing. Wonderful. I hear they started giving out free hospital masks and hand sanitizer at the health center. Cold and flu season is upon us, and with it comes what I like to call “winter beauty season.”

Winter beauty season, for me, means plethora unfortunate changes. My skin gets both dry and super-oily, causing breakouts; my hair frizzes; and my hands start to look like one of those moisturizer commercials with either an alligator or a desert, your choice.

Of course, I don’t take any of that sitting down. Throughout this winter beauty season, I will be bringing you my tips for combating the beauty hardships that many people face when the weather gets colder.

How to combat dryness: moisturizer! Ok, it’s obvious for those who tend to have dry skin. But it’s also important for greasy girls (like me) to use an oil-free moisturizer. Cold winter air combined with indoor heating dries out everyone, and when that happens, your skin tends to overproduce oil – double trouble.

To be perfectly honest, I don’t moisturize as well as I should during the summer, but during the winter, I make sure I use my trusty Neutrogena Oil Free Moisturizer on a daily basis. I usually opt for the version with SPF 15. I’m also a fan of Olay moisturizers. It's so important to amp up your moisturizer routine during the colder months. Dryness not only makes your skin look dull, it also makes your makeup look worse and emphasizes fine lines and wrinkles.

The addition of a night cream might be necessary for those with really dry skin. During the winter, I use a rich moisturizer at night with Vitamin C, an antioxidant. I like Sally Beauty brand Beyond Belief Vita C, which is one of the most affordable lines containing V-C. If you tend to break out or have very oily skin, you don't have to use a night cream. A day cream will deliver many of the same benefits without the heaviness.

Dry skin on the body sometimes needs more than moisture. Stubborn dry skin requires a good scrubbing! An easy to make scrub is one part fine grit sea salt, one part olive oil, and a splash of lemon. The salt makes a gentle scrub, the olive oil moisturizes, and the citric acid in the lemon delivers some chemical exfoliation. This is a great scrub for winter knees and elbows, and it smells pretty nice, too.