I used to be a devote to gel eyeliner, which, to me is the best of all worlds: you get a bold line and it is more forgiving than liquid liner. The price did offend my sensibilities though – you can spend up to $22.00 on Smashbox’s version.
I started using a wet eyeliner brush in dark eye shadow, which looks nice. Unfortunately, the staying power isn’t so hot, especially on my oily lids. So I tried my hand at making my own gel eyeliner, and the result is long lasting, easy to make, and extremely customizable.
How to do it:
For an everyday black eyeliner, I like to use Maybelline Shadow Stylist in Sultry Black, which is a loose powder that isn't terribly pigmented. More pigmented shadows create darker eyeliner. Here, I'm using a tiny acrylic jar, but you can use anything waterproof, like the back of your hand or a water bottle cap. These little jars are easy to find in craft stores and have a lid for future use.

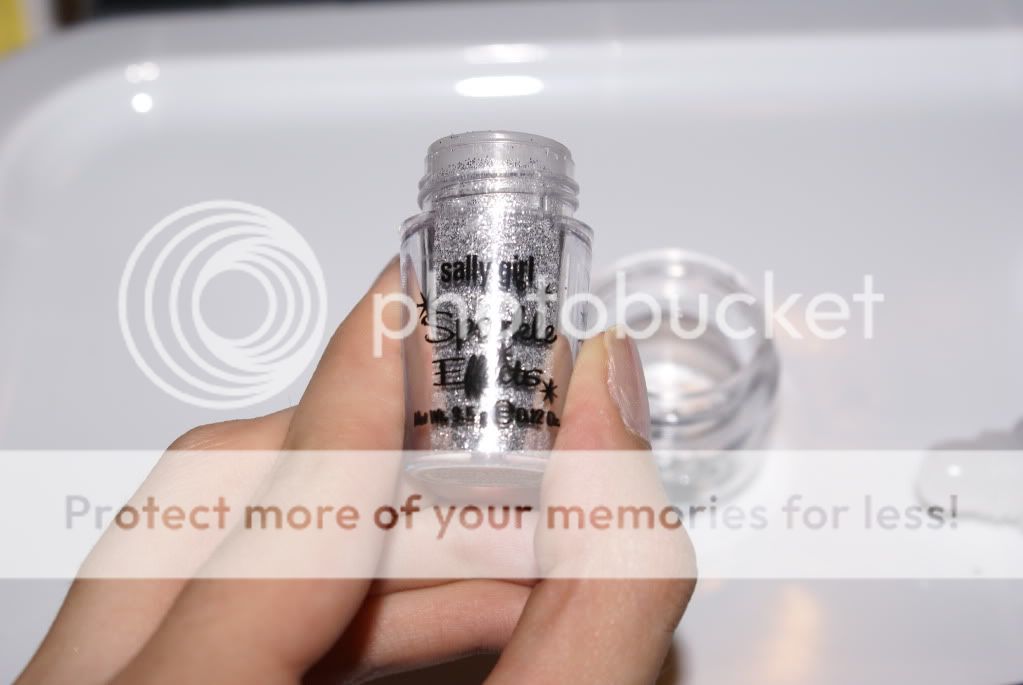
Next, I mix in a small glob of a gel adhesive used for glitter. My favorite is Sally Girl Sparkle Effects Gel Adhesive, which is under a dollar at Sally Beauty Supply. Find it near the Sally Girl glitter and eyeshadow. Use a little gel to begin with and mix thoroughly. This takes trial and error. I like to mix with a designated paint brush with stiff bristles.

What I love about this is that it is customizable. I decided to add some Sally Girl Sparkle Effects silver cosmetics glitter, but obviously you don't need to do this. It adds a nice bling though and the glitter won't fall into your eyes.
Mix thoroughly. Try this out on your hand or arm until it gets to the right opacity and is glittery enough for you.

Sorry about the weird lighting, it was tough to photograph the glitter. The bottom two lines are pre-glitter and the top two are with glitter. The line all the way on the bottom was the tester that I did as I was mixing. I tried to rub it off with my finger after it dried, and it wouldn't budge. This really has staying power!

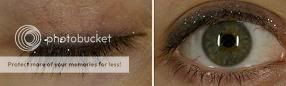
And here it is on my eye, smudged into a bit of a smokey look. Excuse the lack of other makeup, this was late at night!


No comments:
Post a Comment